We left off with the decision to go overnight to Cusco instead of Arequipa due to a miner's strike. Different bus company than the other one we used, but same idea. Comfy seats which recline, food, movies, etc. The bus left at 9:30PM. The trip to Cusco took about 14 hours. Yes, we spent that entire time on a bus. No photos from the experience and you'll soon know why.
The trip was a tale of two seats. A and I were in separate rows due to the last-minute booking, but both on the lower level. I sat in the front. A in the back (4 rows away). The ride started out well. We had earplugs, were served drinks, and a movie was playing. We tried to go to sleep pretty quickly. However, what we didn't know is this particular bus route takes you over some of the highest passes in the Andes. You gain altitude extremely quickly. This caused about half the bus to get sick. Thankfully I was not the only one! Altitude sickness for me started with a headache. I took some Benadryl to encourage sleep. Then I was nauseous. Then I was sick. Repeat for hours. A didn't get sick, but in the back of the bus he experienced constant G-forces from the switchbacks. Needless to say, it was not the highlight of our vacation.
We arrived in Cusco around 11AM and got swindled on a taxi ride to the hotel we would be staying in the next week. We basically begged them to watch our larger bags until our next overnight bus to Puno. Yes, you read that correctly. One overnight bus after another. This was not the original plan; we just wanted to get to Puno before our scheduled tours. The hotel was very accommodating. More about the hotel when we officially return to Cusco.
We headed down towards the Plaza de Armas (main square) and found Urpi, a cute small restaurant where we stopped for lunch. K had the Peruvian version of pizza (in a wood oven). A had Lomo de Alpaca and pumpkin soup. The alpaca was good.


We saw a good number of Israeli restaurants around Cusco.

Cusco is a cute city. It has a European flair (especially in the building style) but with Andean women walking around carrying their babies, wares and purchases on their backs.

We decided to take a tour of the main cathedral. An audio tour was included (in English!), but no photos were allowed. I did sneak a few off the hip, though. I'm so bad. I didn't use flash, so don't worry about the integrity of the old artifacts.
There were tons of gold-plated altars and dressed-up idols. One of the most interesting things was the "Lord of the Earthquakes". (AKA Black Jesus). The cathedral is really three connected churches which were built over time.
Next we went shopping for hats and mittens, two necessities in the Andes and the altiplano (the high flat portion at the top of the Andes). Our negotiations to even lower prices were successful. Then we wandered trying to find an internet cafe and a travel agency to set up a tour in Puno since we would have an unanticipated extra day there. We found internet and updated our families on our new travel plans. We waited on the tour as a couple agencies were charging an outrageous fee. We decided to wait until we arrived in Puno. If you know me well, you know how nervous it makes me not to have a plan!
We went to dinner at a quaint little place where all the locals were eating something called "Mother-in-law's Tongue" - a flaky pastry with caramel. A had one of those and I had an empanada. We also had sandwiches. A had Inca Kola too. It's the national soda drink of Peru. If you can imagine bubble gum soda, you know what it tastes like.


After dinner we hung out in the Plaza de Armas for a while. Then back to the bus station! Very busy and no organization. We eventually went out to where the buses lined up and then guessed which one was ours. This time we were on the upper level (due to the last-minute purchase). We actually slept for most of the ride, thankfully. We arrived in Puno at 5:30AM. We headed to the hotel we were staying in that night and asked if we could sleep in a room for a few hours. They were super nice and let us conk out.
We woke up again around 9:30AM. We went out to find the travel agency office for our tour the next day to see if they could book a tour for us that day, but they were closed. Instead we booked our Sillustani tour through another company. The street we walked the most on is a pedestrian-only street. Very cute.

Then we saw what looked to be a military marching band going down the street. We decided to follow them to Puno's Plaza de Armas (every city has one and it's called the same thing). People seemed to be waiting so we sat on the cathedral steps and watched as different branches of the military marched in the square.


Flags were raised, guns shot off, and people stood for various songs. We found out later it was part of a week-long Mother's Day celebration. Pretty intense for Mother's Day! I got sick in the middle of it. Yay altitude sickness! Let's take a minute to talk about that, shall we?
Some people are affected by going quickly from low altitudes to high altitudes (typically over 8,000 feet). Symptoms include headache, loss of appetite, nausea/vomiting, feeling weak, and dizziness. Most people experience a headache when they first go to a high altitude. Luckily for me, I had it all while in Puno. Puno is at an altitude of 12,556 feet. Just slightly higher than Chicago which is at about 500 feet and Nasca which is close to sea level. I started taking Diamox, an altitude sickness drug, the day we arrived in Puno when it became clear the altitude was affecting me. It seemed to help, but also going back to Cusco which is lower (11,200 feet) helped the most. Altitude sickness is no fun. You feel weighed down and stairs are definitely difficult. But it didn't stop us from exploring! I also drank tons of coca tea and mint tea, which are supposed to help. Yes, cocaine is made from coca leaves. But it takes a ridiculous amount of leaves to make a tiny amount of drug, so don't worry!
We took a look inside Puno's cathedral after the parades were over. Less glitzy than the one in Cusco but still big. Also had the gilded altars and dressed-up idols.


Then we took a hike up a hill (very slowly) to see the view of the city and Lake Titicaca. There is a statue at the top of the first Inca, Manco Capac.


After climbing slowly back down, we had a snack before getting picked up for our tour to Sillustani. First cup of coca tea!

Sillustani is an area which has funery towers from both pre-Inca and Inca times. The rocks are magnetic and the towers have been struck by lightning multiple times. (Eventually they installed lightning rods.) Different parts of the towers represent the four elements and the gods related to them.

This particular rock looks like a panther from the side (can you see it?). If you place a magnet in the middle of the circular swirl the needle will keep swinging around from the magnetism in the rock.

Can you tell how windy it was? Take a look at my hat in all these next photos. It was worse than Chicago! And cold!


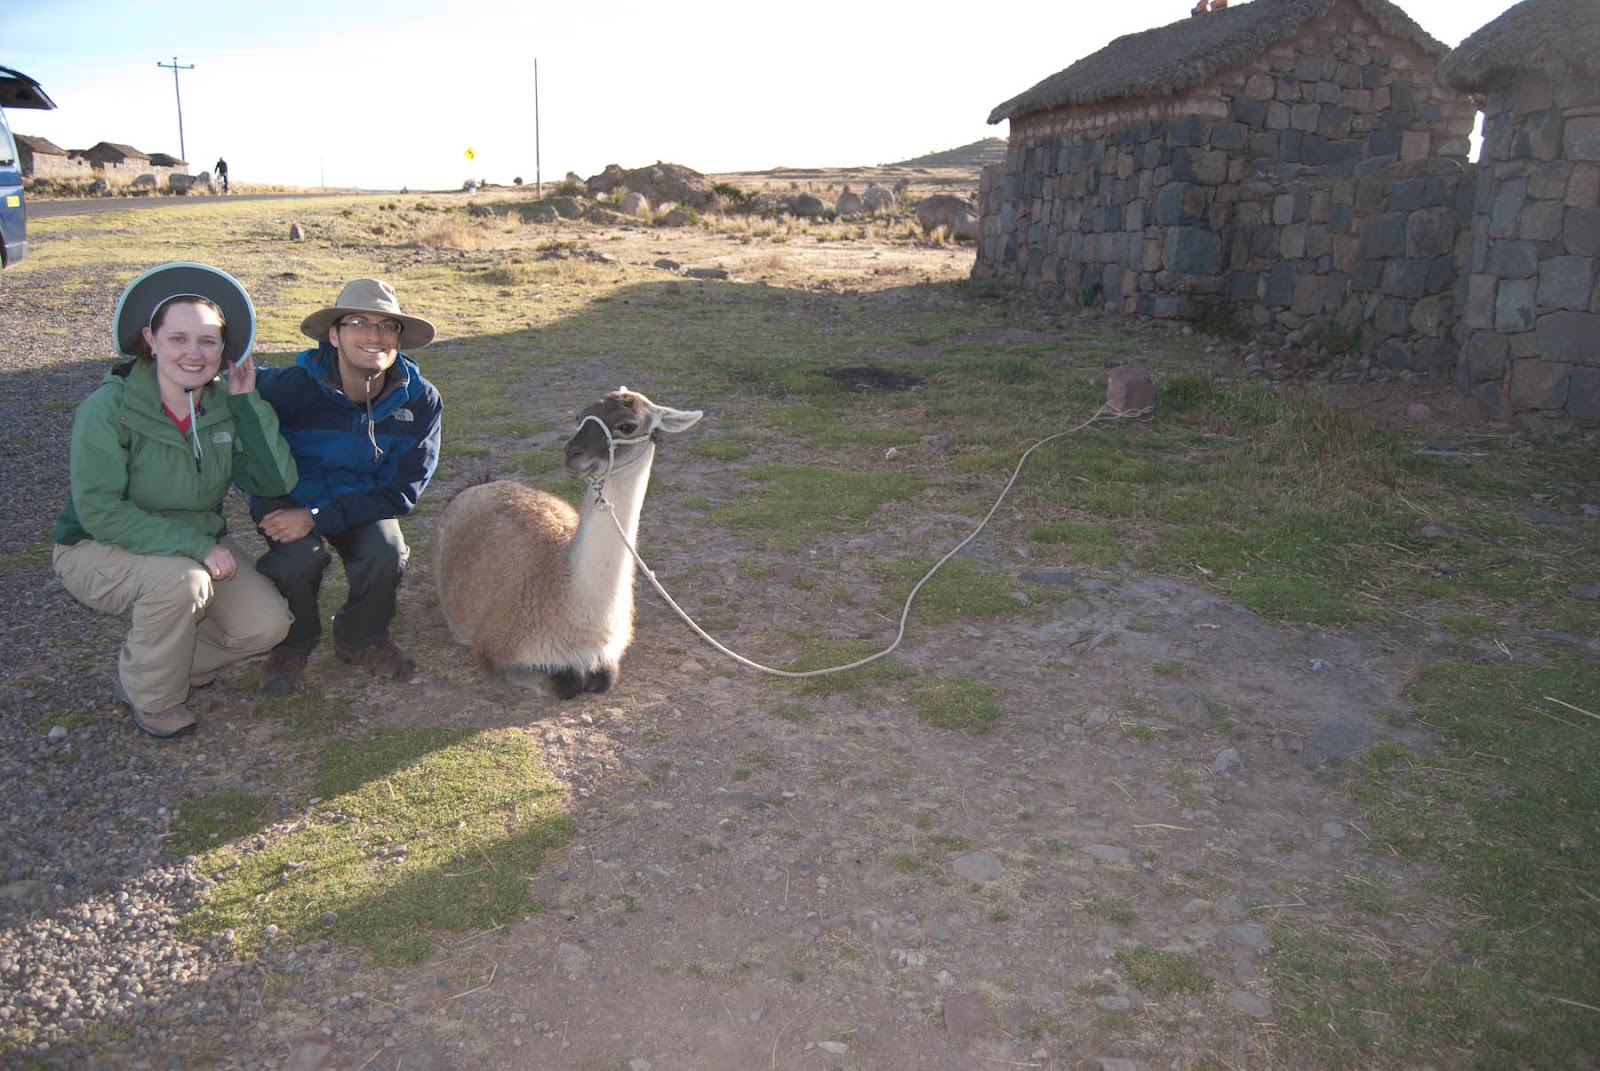
On the way back to Puno (about a 45-minute drive) we stopped to visit a local family's house. This whole complex is one house. Each building is a different room. Bedroom, kitchen, etc.

Llama!

Our guide served us different types of potatoes, cheese, and arcilla. Arcilla is an edible clay. It's very salty. In Peru they have over 3,500 types of potato!


This is their bedroom. Can you imagine sleeping on hard adobe?

Almost every family in the altiplano and Cusco region has these symbols on the roof of their house. There are two bulls (representing duality - male & female.... they used to be llamas until the Spanish came), a ladder (representing moving up in life), a cross (showing they are Catholic), and two pots: one with oil and one with water (representing the separation of good and evil).

The altiplano is gorgeous. It's so flat you can't tell how high up you are. (And you're very high!)

When we got back to Puno we had dinner at a "fancy" restaurant where we both had soup. A had potato & asparagus and I had vegetable quinoa. Quinoa is a grain they grow all over the Andes and eat frequently. Something to note: Most natives operate on what they call "Peruvian time". Meaning you usually won't get your food served at the same time as your dinner partners, your server won't bring you the check unless you ask for it (and then it comes at least 10 minutes later), and people just generally are not in a hurry. Another amusing thing - they figure out your bill by looking at the prices on the menu - no computer systems here! Also, multiple places have said they take American Express but then it almost never works when they try to run it. Be prepared with Visa or cash.
After dinner we went to bed early to catch up on sleep before our Lake Titicaca tour the next day. This was our room for the night before the tour and the night after.

Coming Up: Floating islands, two light bulbs and the definition of "Peruvian flat".


